Why Is My Resin Floor Peeling? (And How to Fix It Permanently)
How Much Does Epoxy Resin Flooring Cost per m²?
Maintaining and Cleaning Resin Floors: Long-Term Protection Guide
Choosing the Right Resin Topcoat: High Build Epoxy vs PVA Flake
How to Prep Concrete for Epoxy
How to Prep Concrete for Epoxy Flooring
Applying a high-build resin finish to a workshop, retail space, or garage looks brilliant, but the final finish is only ever as strong as the concrete beneath it. Over 90% of coating failures happen because installers skip mechanical preparation or apply product over weak laitance.
If you want your floor to withstand vehicle traffic, chemical spills, and heavy footfall, you must know how to properly prep concrete for epoxy. In this guide, we break down the exact surface preparation steps we use on commercial and residential projects across the UK.
Why Surface Preparation Matters for Epoxy Flooring
Concrete is naturally porous, but new slabs develop a weak, dusty top layer called laitance as water evaporates during curing. Older floors often hold oil, paint residues, or failing screeds.
If you apply a rigid 2-part resin directly over an unprepared floor, the epoxy cannot form a mechanical bond. As the resin cures, tension will cause the coating to sheet off or blister. Mechanically abrading the slab opens the concrete pores so the liquid resin can penetrate deep into the substrate.
Key Steps to Prep Concrete for Epoxy
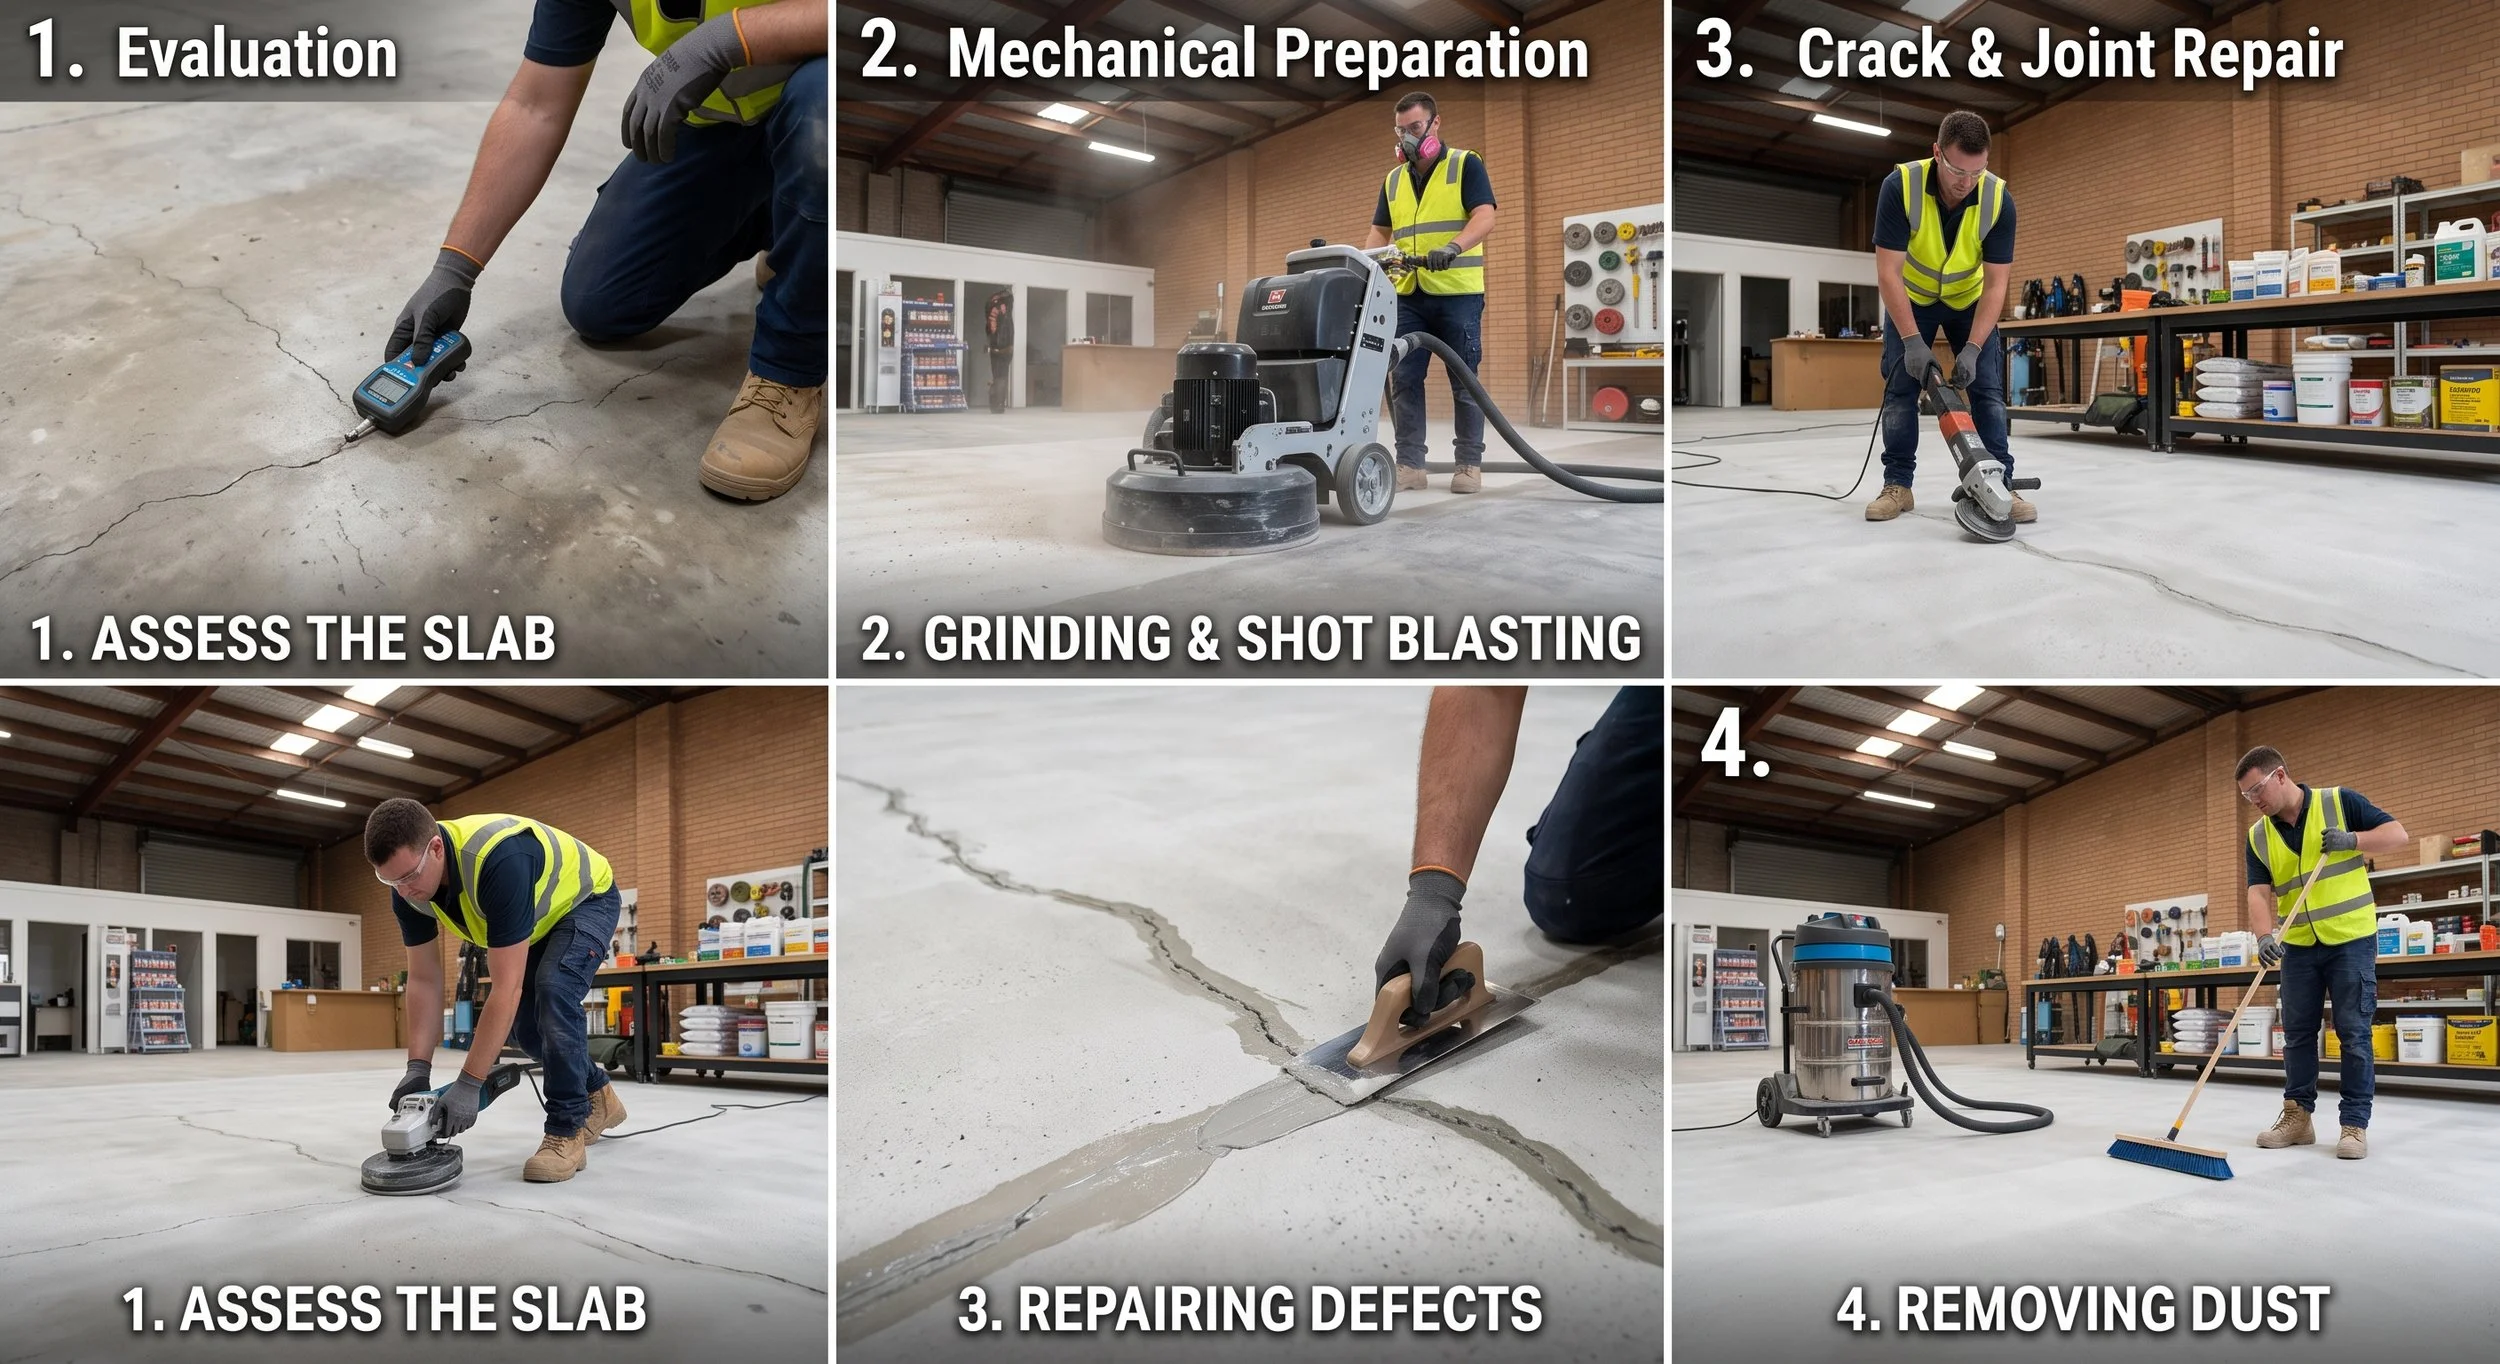
1. Inspect for Moisture and Contaminants
Before using any machinery, test the moisture content of the concrete. Relative humidity (RH) levels should be below 75%. If dampness is present, you must specify a 2-part epoxy DPM (damp-proof membrane) primer to block ground moisture. Remove oil stains using a specialized degreaser—oil will act as a bond breaker if left untreated.
2. Diamond Grinding vs. Acid Etching
While DIY kits often promote acid etching, commercial contractors rely on dust-free planetary diamond grinding.
Diamond Grinding (Recommended): Heavy-duty grinders fitted with 30-grit diamond segments mechanically remove surface laitance and create a rough profile (Concrete Surface Profile 2–3) ideal for resin adhesion.
PCD Scraping: For thick old paints or tile adhesives, use Polycrystalline Diamond (PCD) scrapers to strip materials without smearing them into the concrete pores.
3. Repair Cracks and Deep Spalls
Once ground, vacuum the entire floor using an M-Class industrial dust extractor. Inspect for cracks, joints, and deep impact damage:
Fine hairline cracks: Fill using a low-viscosity epoxy injection resin.
Deep spalls (>5mm): Use a high-strength resin mortar like EpoxySET 105 to flush out deep voids before priming.
Priming the Prepared Concrete Substrate
Once the concrete is clean, sound, and open-textured, apply the correct priming system:
Standard Dry Concrete: Apply a 100% solids epoxy primer using a squeegee and medium-pile roller to seal the pores and prevent air bubbles (pinholing) in topcoats.
Uneven Subfloors: If the base requires smoothing, pour a polymer-modified self-levelling screed over an acrylic primer. Sand the cured leveller with 60-grit mesh before resin application.
Mechanical Keying: Broadcast dry quartz sand into the wet primer layer. Once cured, vacuum off loose aggregate to provide an aggressive key for your final finish.
Ready to Transform Your Floor Space?
Skipping preparation steps is the fastest way to ruin a resin installation. Whether you are upgrading a domestic garage or a commercial industrial facility, our team uses industrial diamond grinders and heavy-duty priming systems to guarantee a permanent bond.
Have questions about subfloor condition or need a fixed-price quotation? Contact North West Resin Flooring Specialists Ltd today to speak with an expert or request a free site survey.